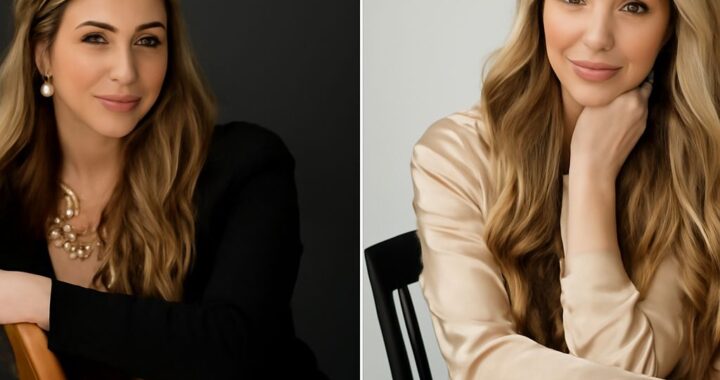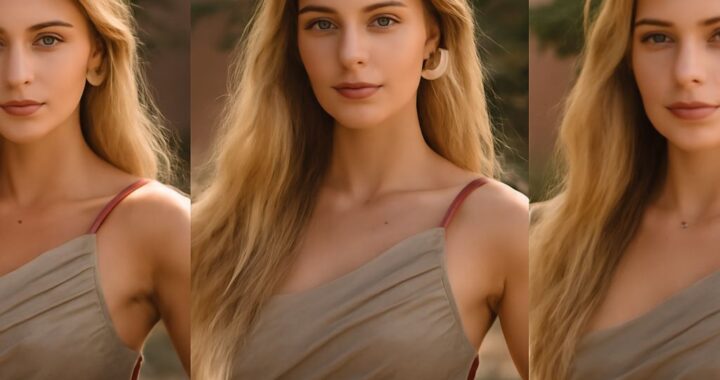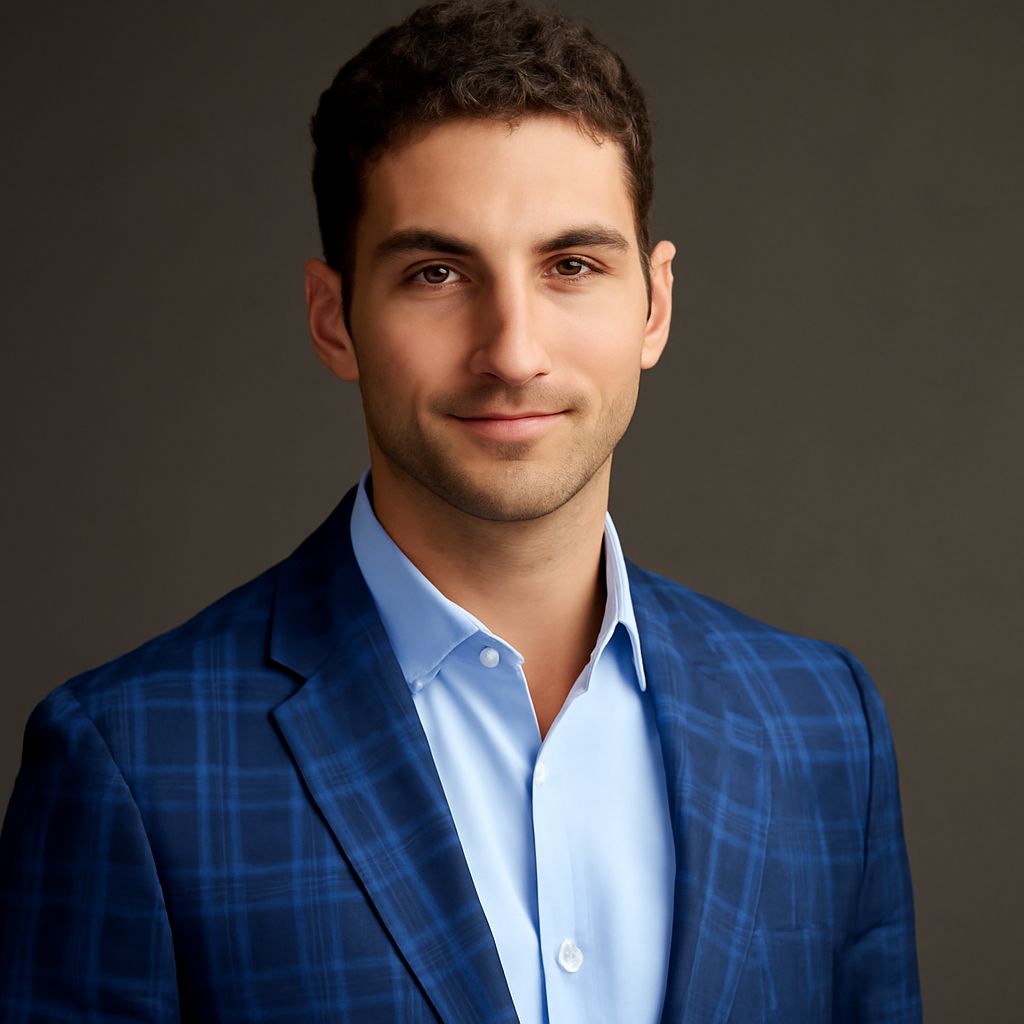
Knowing what to wear for professional headshots starts with the image you need to project. Choose clothing that fits your industry, intended use, personal style, and expected crop rather than copying one universal “professional” outfit.
A polished result depends on coordination: clothing, grooming, posture, expression, and lighting should support the same impression. Prepare one primary outfit and, when possible, one alternate with a different level of formality.
What to Wear for Professional Headshots by Industry and Intended Use
Your profession sets the formality range, while the image’s purpose determines how carefully you should align with it. A law-firm website, executive biography, or corporate speaker profile usually calls for structured tailoring. A technology company, nonprofit, design studio, or personal brand may suit refined separates, a knit top, or a jacket over an open-collar shirt.
- Formal industries: Select a tailored jacket, suit, polished blouse, or dress in a restrained color. Use this approach for legal, financial, government, and executive-facing roles.
- Business-casual workplaces: Try a collared shirt, sweater, blouse, or unstructured blazer. Keep the fit sharp without making the outfit feel overly corporate.
- Creative or public-facing roles: Add personality through color, texture, jewelry, eyewear, or a distinctive layer. Keep one element expressive rather than combining several competing details.
- Multiple uses: If the image will appear on LinkedIn and a formal company page, choose a flexible base layer and bring a jacket for a second look.
Match the outfit to the audience seeing it. A headshot for a conference speaker page can feel more approachable than one used on a firm’s leadership page, even when both look polished.
What to Wear for a Professional Headshot: Colors, Fit, and Layers
Solid, moderately deep colors usually photograph cleanly. Navy, charcoal, forest green, burgundy, muted blue, cream, and soft earth tones can add depth without distracting from your face. Choose a color that contrasts gently with your background and complements your skin tone.
- Control patterns: Avoid tiny checks, narrow stripes, and dense prints because they can create distracting moiré effects on screens. Larger, simple patterns work better if they reflect your style.
- Prioritize fit: Shoulder seams should sit correctly, collars should lie flat, and sleeves should not bunch. Clothing that pinches or sags will affect your posture and expression.
- Use layers strategically: A jacket, cardigan, vest, or overshirt gives the photographer options and adds shape. Bring the outer layer even if you plan to begin without it.
- Keep accessories intentional: Wear familiar jewelry, glasses, or a watch if they belong to your normal professional appearance. Clean lenses and avoid anything that reflects the lights.
Choose a neckline that frames your face without crowding it. V-necks, open collars, crewnecks, and modest scoop necks can all work; the best option depends on your proportions, role, and preferred level of formality. Steam clothes, remove lint, and avoid fabrics that wrinkle quickly during travel.
Professional Headshots for Men: Shirts, Jackets, Ties, and Grooming
For men, a crisp shirt often provides the strongest starting point. White, pale blue, gray, and subtle patterns are versatile, while a darker shirt can create a more modern or authoritative impression. Make sure the collar holds its shape and does not feel tight when you turn your head.
- Jackets: A fitted navy, charcoal, or textured blazer adds structure without requiring a full suit. Check that the shoulders sit flat and the lapels remain smooth.
- Ties: Wear one when your industry or intended use expects formal business attire. Choose a simple, medium-scale pattern or solid color; skip novelty graphics and overly reflective fabric.
- Open collars: An unbuttoned top button can look approachable in business-casual settings. Keep the opening neat and make sure the undershirt does not show distractingly.
- Neckline choices: You do not need a tie, jacket, or specific collar to look professional. Select the neckline that matches your workplace and makes you feel natural on camera.
Schedule a haircut several days before the session instead of immediately beforehand. Tidy facial hair, eyebrows, and sideburns according to your usual style. Check for shiny skin, dry lips, loose threads, and visible collar gaps before shooting.
Reference for Standing Poses: Feet, Hips, Shoulders, Hands, Chin, Expression, and Checks
Use these professional headshot tips to create relaxed standing poses, even when the final image crops at the chest or shoulders. Small body adjustments make your face look more engaged and your posture less rigid.
- Set your feet: Place them about hip-width apart. Turn one foot slightly outward and shift a little weight onto the back foot, keeping both knees relaxed.
- Angle your hips: Turn your hips and torso slightly away from the camera instead of facing it squarely. This creates dimension while keeping your face directed toward the lens.
- Relax your shoulders: Drop them away from your ears, then rotate the shoulder nearest the camera slightly back. Avoid pulling your chest forward or arching your lower back.
- Place your hands: Let your arms rest naturally, touch a jacket button, hold a notebook, or place one hand lightly in a pocket. Keep fingers visible and avoid gripping tightly.
- Position your chin: Move your forehead slightly toward the camera and lower your chin a fraction. This lengthens the neck and reduces a raised-chin or double-chin appearance.
- Shape your expression: Start with a neutral, attentive look, then add a small smile or a genuine laugh. Think of a friendly person rather than forcing your mouth into position.
Before the session, test each outfit in the intended crop. Confirm that the neckline, collar, and accessories remain visible; check posture, hair, lint, teeth, and glasses. Bring a comb, lint roller, makeup or powder, water, and the alternate layer, then return pockets and hands to a relaxed position between frames.