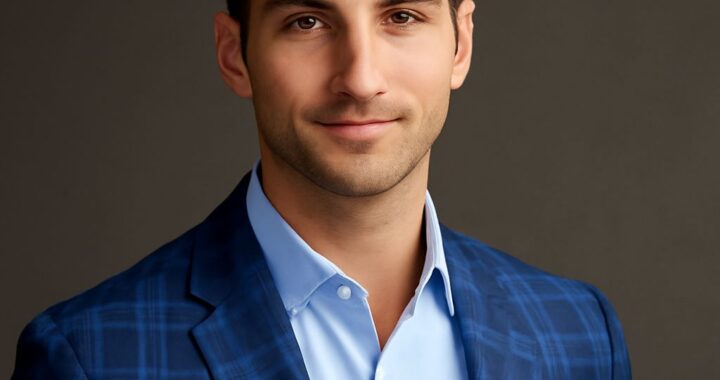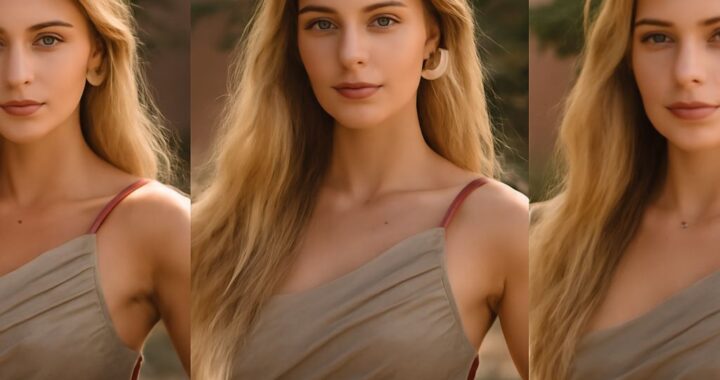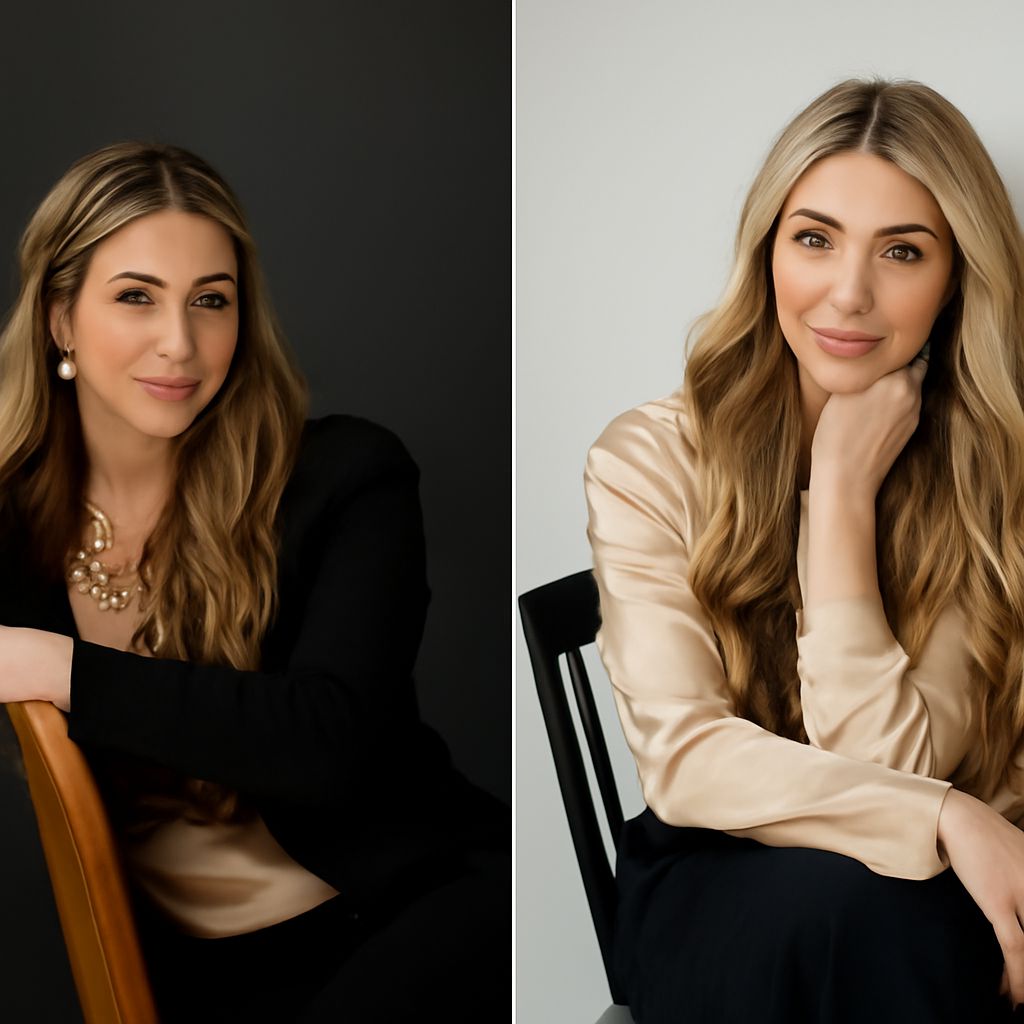
A headshot machine can produce a fast, consistent portrait, but your best preparation still depends on the image’s intended use. Decide where the photo will appear before choosing clothing, framing, or expression.
A LinkedIn profile usually benefits from a close, friendly crop. A company website may need more space around your shoulders for layout flexibility, while a speaker page might call for a wider horizontal image. Use professional references that match your goal rather than copying a passport-style booth image.
Headshot Machine vs. a Photographer-Led Session: Use Case, Crop, Background, and Creative Control
An automated system works well when you need speed, predictable lighting, and a straightforward portrait. It can often guide you into position, select a background, adjust exposure, and apply basic retouching. Some systems also create several polished variations from one session.
- Choose a machine for convenience: It suits employee directories, quick profile updates, events, and consistent team portraits.
- Choose a photographer for direction: A photographer can adapt the crop, camera angle, lighting, and expression to your role and audience.
- Plan for the platform: A square profile image needs a different crop from a website banner or printed speaker biography.
- Match the background: Neutral gray or white supports formal uses, while an office or softly colored backdrop can feel more personal.
An automated headshot machine cannot fully interpret your brand, body language, or comfort level. It may correct exposure and remove distractions, but it usually cannot notice that your shoulders look tense or that one expression feels more credible than another. A directed session gives you real-time feedback and several intentional variations. Neither option replaces preparation: arrive with clean clothing, a rested face, and a clear idea of the image you need.
What to Wear for Headshots: Color, Neckline, Pattern, Texture, and Fit
The best clothing looks polished without competing with your face. When deciding what to wear for a headshot, choose one dependable outfit and bring a simple backup if possible.
- Color: Select solid shades that complement your skin and contrast gently with the background. Navy, charcoal, forest green, burgundy, cream, and muted blue often photograph well. Avoid colors that closely match the backdrop.
- Neckline: Choose a neckline that reflects your workplace. Crew necks and collared shirts look clean, while a modest V-neck can lengthen the frame. Make sure the neckline sits flat.
- Pattern: Small checks, tight stripes, and high-contrast prints can create distracting visual interference. Solids or restrained patterns are safer, especially for a close crop.
- Texture: Subtle knits, wool, denim, or a structured jacket can add depth. Avoid shiny fabric, noisy embellishments, and materials that crease easily.
- Fit: Wear clothing that follows your shape without pulling at the buttons or collapsing around your shoulders. A jacket should lie smoothly, and sleeves should not bunch in the crop.
Keep jewelry and accessories intentional. They should support your professional identity rather than become the most noticeable detail. Steam your outfit, remove lint, and bring the exact glasses you normally wear if they are part of your daily appearance.
Professional Headshot Examples: Evaluate Crop, Background, Light, and Expression
Study professional headshot examples by asking whether each image communicates the right role, not simply whether it looks attractive. A lawyer, engineer, actor, and creative director may need different visual signals.
- Crop: Check where the frame cuts the shoulders and how much space remains above the head. The eyes should receive visual priority without feeling crowded.
- Background: Notice whether the background separates the subject clearly. A simple background usually keeps a small profile image readable.
- Light: Look for even skin tones, visible eyes, and gentle shadows. Harsh light can emphasize texture, while flat light may remove useful dimension.
- Expression: Compare relaxed smiles, closed-mouth smiles, and neutral expressions. Select the version that fits your audience and still feels like you.
Save two or three examples with similar framing and use them to explain your preference. Do not judge an example only by its pose; lighting, lens choice, styling, and retouching also shape the result.
Posing for Pictures: Posture, Chin, Shoulders, Hands, and Natural Expression
Good posing looks less like a fixed stance and more like a controlled, comfortable position. Practice these posing for pictures cues in a mirror before the session.
- Posture: Sit or stand tall, lengthen the back of your neck, and keep your weight balanced. Imagine a thread lifting you gently from the crown of your head.
- Chin: Move your forehead slightly toward the camera, then lower your chin a fraction. This reduces a lifted-chin angle without creating a forced tuck.
- Shoulders: Turn your body slightly away from the camera and bring one shoulder forward. Keep both shoulders low and relaxed instead of pulling them back rigidly.
- Hands: Keep hands outside a tight head-and-shoulders crop unless they support the pose. If visible, rest them lightly, hold a natural prop, or place one hand near the opposite wrist.
- Expression: Exhale, relax your jaw, and think of someone you genuinely enjoy helping. Begin with a neutral face, then add a small smile and a fuller smile.
Ask for several variations: straight to camera, slightly turned, neutral, and smiling. Between shots, reset your shoulders and blink normally. The strongest frame usually comes just after movement, when your face and posture settle into a natural position.