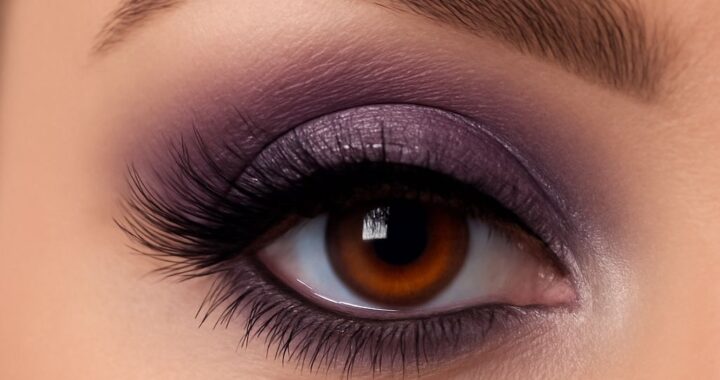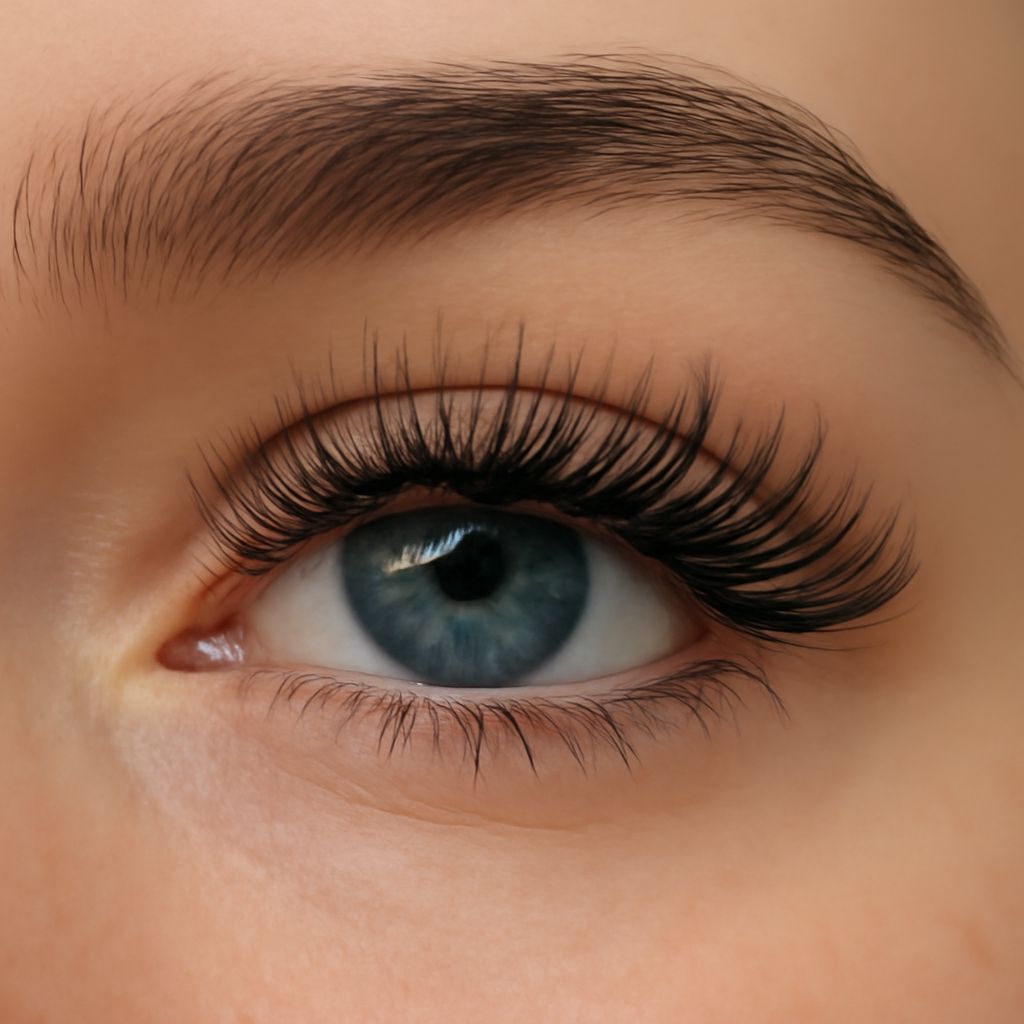
Learning how to put eyeliner becomes easier when you treat liner and lashes as one eye-look sequence. First create a controlled shape, then place individual lashes where they enhance—not hide—the line.
Use a thin brush, a small amount of product, and deliberate checkpoints for thickness, placement, and balance. This method keeps the result clean without repeatedly layering makeup.
Prepare the Lid and Pot Eyeliner Tools
Start with clean, dry eyelids. Remove oil with micellar water, let the skin dry, then apply a light layer of eyeshadow primer. Avoid a rich eye cream immediately before lining because it can make the product slip.
Open your eyeliner pot and choose a fine angled or detail brush. Load only the first few millimeters of the bristles. Press one side against the pot’s rim to remove excess, then twist the brush slightly so the product coats the tip evenly.
Keep a pointed cotton swab and a small amount of makeup remover nearby. A dry, clean brush can also soften a correction without disturbing the rest of your eye makeup.
How to Put on Eyeliner: Apply and Refine the Line
- Map the direction. Look straight ahead and mark the outer endpoint where your lower lash line naturally points. Keep the initial wing short; you can extend it later.
- Place the upper line. Starting at the outer corner, draw small strokes toward the center of the lid. Then work from the inner corner outward, keeping the brush close to the upper lash roots.
- Control thickness. Keep the inner third thin, build moderate thickness through the center, and slightly deepen the outer third. This preserves lid space and creates lift without a heavy block.
- Connect the wing. Draw from the outer line back toward the lash line, using short strokes rather than one long sweep. Check both eyes with your eyes open.
- Correct selectively. Remove a bump with a pointed cotton swab or sharpen the edge with a tiny amount of concealer. Do not wipe away the entire line unless the shape is uneven from corner to corner.
Let the liner set briefly before placing lashes. If the line looks too bold, soften only the outer edge with a clean, nearly dry brush instead of adding more shadow or liner.
Plan Placement for Single Lashes
- Divide the eye into zones. Use short single lashes at the inner corner, medium lengths across the center, and longer pieces toward the outer third for a lifted shape.
- Choose a pattern. For subtle definition, place one lash every few millimeters. For more volume, reduce the gaps gradually, but leave the inner corner lighter than the outer corner.
- Start with the outer third. Pick up one lash at its base with tweezers and compare it with the opposite eye. Place matching lengths on both sides before adding more fullness.
- Check the balance. Alternate between eyes after every few lashes. Stop when both eyes look equally open and lifted; adding more to one side can quickly create uneven weight.
Attach and Blend Individual Lashes
Grip each lash near its base, apply a tiny bead of lash adhesive, and wait about 20 to 30 seconds until it feels tacky. This prevents the lash from sliding across your liner.
Look slightly downward into a mirror. Place the lash onto your natural lash, about 1–2 millimeters above the waterline, never directly inside the eye. Set the longest pieces first, then fill toward the center and inner corner. Press the lash base gently against your natural lashes for several seconds.
For individual lashes, blend each tiny base—not a strip-lash band—with your liner. If a base looks pale or separated, use the almost-dry eyeliner brush to tap a pin-sized amount of product into that gap. Avoid coating the lash fibers or redrawing the entire line.
Once the adhesive sets, lightly pinch the natural and added lashes together with clean tweezers. Check the look from straight on and from the side. Remove any piece that points downward, then replace it with a matching length rather than piling on extra product.