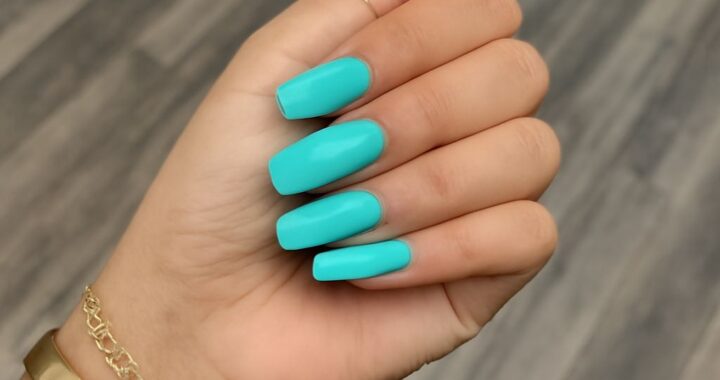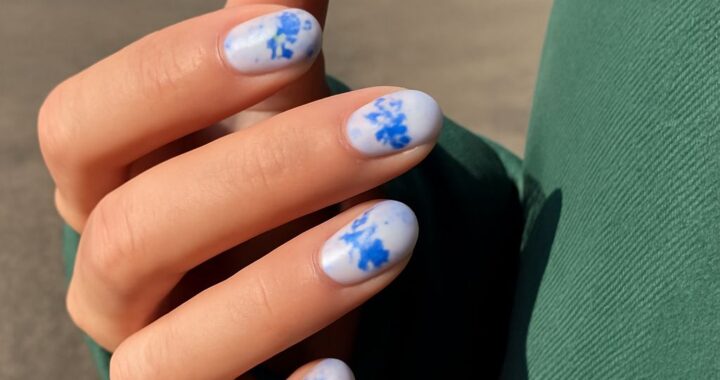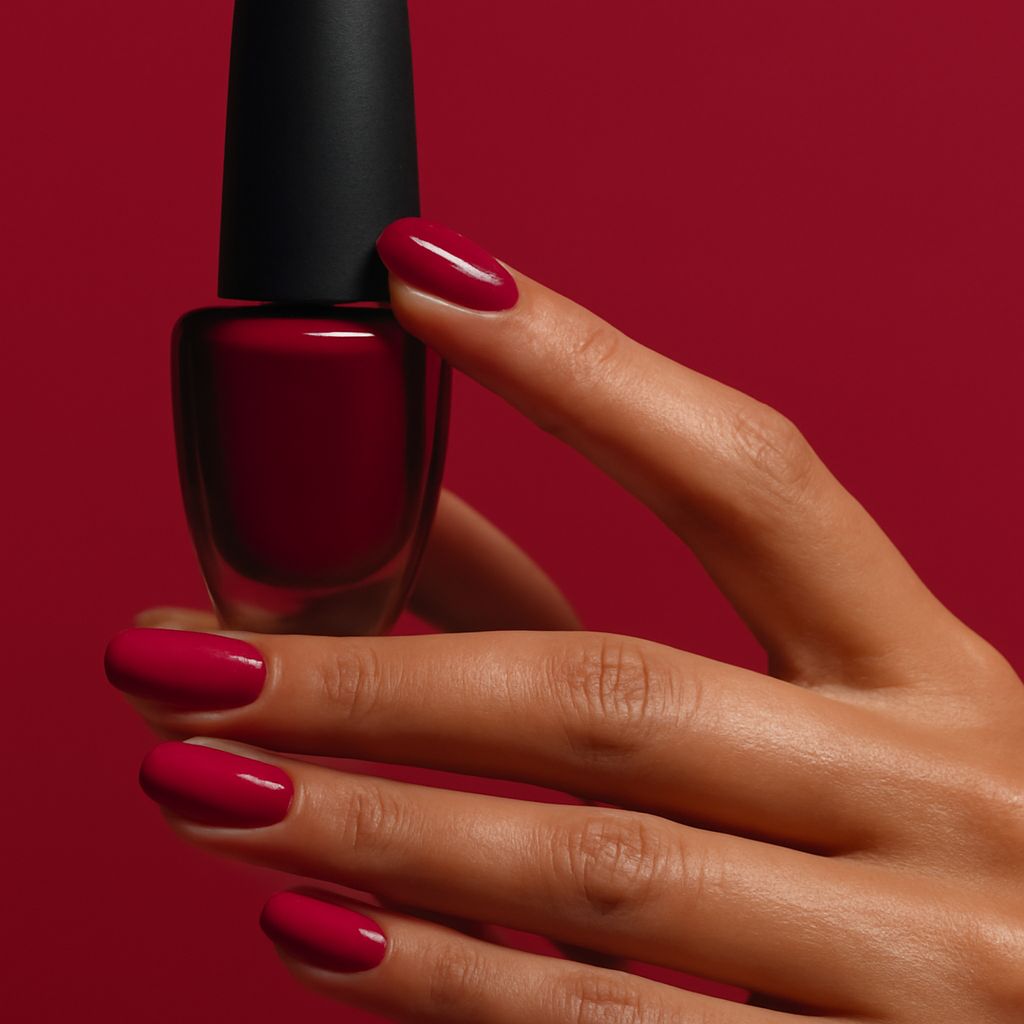
Acetone for nails removes soak-off gel cleanly when you break the seal, wrap each nail, and wait for the product to soften. For at home gel nails, choose one complete system and keep its base, color, top coat, and lamp requirements together.
Among gel nail polish brands, Gelish, OPI GelColor, and CND Shellac offer clear product families for a coordinated manicure. Use the same system from preparation through removal rather than mixing formulas at random.
Compare Gel Nail Polish Brands for At-Home Gel Nails
Gelish: Match Base, Color, Top, and Lamp
Gelish works best as a matched system: Gelish foundation or base, Gelish color, and Gelish top coat. Pair those products with the lamp and curing times listed for the formula. Gelish gives you a broad shade range, including bright pinks, so it suits a vivid manicure or a layered design.
OPI GelColor: Keep the Full System Together
OPI GelColor uses its own base, color, top coat, and curing specifications. Its color range includes wearable sheer options such as OPI Bubble Bath GelColor. Keep the bottle, lamp, and coat thickness consistent with OPI’s instructions; another brand’s lamp or top coat may not cure the formula as intended.
CND Shellac: Follow Its System and Lamp Requirements
CND Shellac is a complete system with its own base coat, color, top coat, and lamp requirements. CND’s formula is designed to work with those compatible products, including shades such as CND Hot Pop Pink and CND Negligee. Do not combine a CND color with a different brand’s base or top coat simply because the colors look similar.
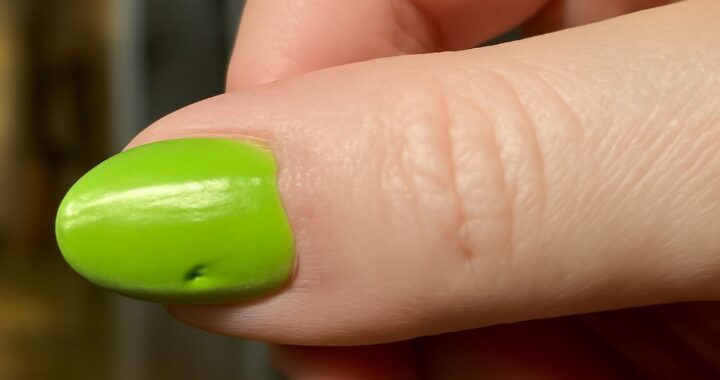
Across all three systems, use thin layers and cure every layer fully. A mismatched lamp, thick application, or incompatible top coat can leave gel soft, wrinkled, or prone to lifting.
Hot Pink Nail Polish: Opaque Gel Examples
Gelish Make You Blink Pink
Gelish Make You Blink Pink is an opaque, high-impact hot pink nail polish example. Apply one very thin coat, cap the free edge, and cure it. Add a second thin coat for more even color rather than applying one heavy layer that can wrinkle or remain undercured.
CND Hot Pop Pink
CND Hot Pop Pink offers another vivid opaque option within the CND Shellac system. Use the same two-coat approach, but keep the color away from your skin and cuticle. If the shade looks uneven after the first coat, cure that coat before correcting coverage with a second.
Sheer Pink Nail Polish: Build Controlled Translucency
OPI Bubble Bath GelColor
OPI Bubble Bath GelColor creates a soft, translucent pink effect. One thin coat leaves more of the natural nail visible; two or three thin coats increase coverage while preserving a delicate finish. Cure each coat separately so the center and edges harden evenly.
CND Negligee
CND Negligee is another sheer pink nail polish example with a pale, polished appearance. Brush off excess product before application, then float a thin layer over the nail without repeatedly brushing the same area. Stop when the free edge shows the amount of translucency you want.
Sheer color rewards restraint. Thick coats look streaky, pool near the cuticle, and may cure unevenly. Thin coats create more predictable translucency and make it easier to adjust the final depth.
Prepare, Apply, Cure, and Finish At-Home Gel Nails
- Prepare. Shape clean, dry nails, gently push back the cuticle, and remove only loose tissue from the nail plate. Lightly remove surface shine with a fine buffer, then brush away dust. Use the system’s cleanser or dehydrator if its instructions call for one.
- Apply the base. Brush on a very thin base coat, keeping it off the surrounding skin. Cap the free edge with the remaining product on your brush, then cure it for the manufacturer’s stated time, commonly about 30 to 60 seconds under a compatible LED lamp.
- Apply color. Place a thin coat of gel color from near the cuticle toward the tip. Leave a narrow gap around the skin, cap the edge, and cure. Apply a second thin coat for opaque hot pink or additional coverage; use one to three thin coats for sheer pink.
- Apply the top coat. Cover the color evenly and cap the tip without flooding the sidewalls. Cure for the listed time. If the top coat leaves a sticky inhibition layer, remove it with the system-approved cleanser; no-wipe top coats need no wiping.
- Check the result. The surface should feel hard, smooth, and glossy, with no wrinkles, dents, tacky color, or gel on the skin. Remove any product touching skin before curing, because cured gel can encourage lifting and irritation.
Use Acetone for Nails to Remove Soak-Off Gel
- Confirm that your manicure is soak-off gel polish. This method is not a removal method for hard gel.
- Lightly file away the glossy top layer without filing into the natural nail. This helps acetone reach the color.
- Soak small cotton pieces in pure acetone, place one on each nail, and wrap the fingertips securely with foil or use soak-off clips.
- Wait about 10 to 15 minutes. Unwrap one nail first; softened gel should lift, flake, or slide away with gentle pressure.
- Push off softened product with a wooden stick or manicure tool. Never force, peel, or aggressively scrape gel that remains firm. Rewrap it for another five minutes instead.
- Wash your hands, gently smooth residue, and apply cuticle oil or hand cream. Work with ventilation, keep acetone away from heat or flame, and avoid prolonged skin contact.