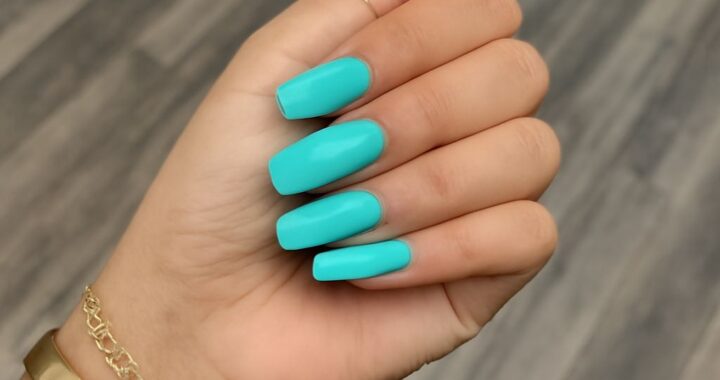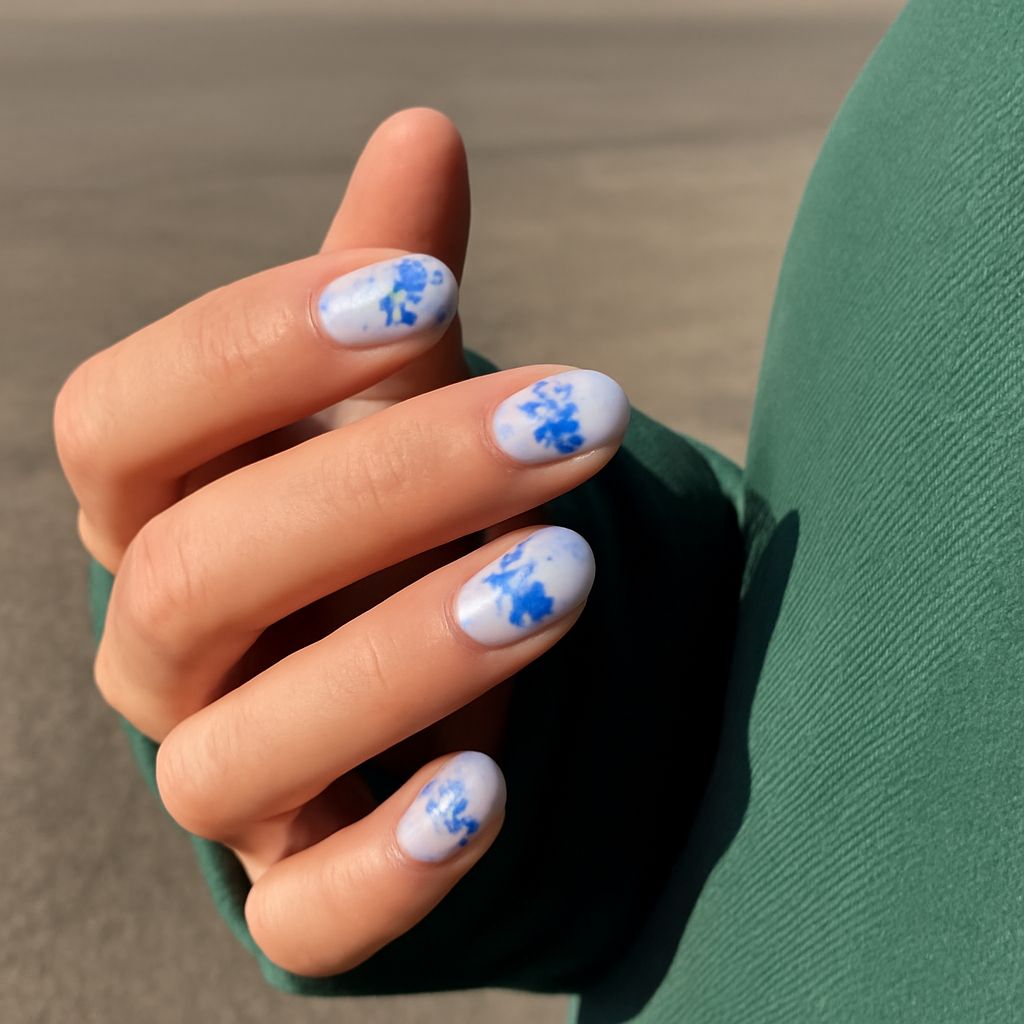
Japanese gel nails refer to a family of manicures that use Japanese-style gel products and controlled application. The key benefit is not a decorative label: thin, even layers can flex with the nail while curing into a durable film. To understand what is gel nail polish, think of a coating that stays liquid until UV or LED light activates its curing agents. Japanese gel systems may behave differently from conventional gel products, so technique matters as much as product choice.
What Is Gel Nail Polish? How It Cures
Gel versus regular polish
Gel polish combines resin, pigments, and photoinitiators. Regular polish hardens as solvents evaporate; gel polish polymerizes when the correct UV or LED wavelengths activate the photoinitiators. The liquid coating becomes a solid film, but hardness depends on its formula, thickness, lamp compatibility, and exposure time.
UV/LED curing and hardness
Most systems require curing after the base, every color layer, and the top coat. Follow the product’s lamp and timing instructions; not every LED lamp cures every formula. A properly cured coat feels firm and stays still under light pressure. A thick or mismatched layer can look hard while remaining undercured underneath.
Japanese Gel Nails: How Japanese Gel Systems Differ from Conventional Gel
Viscosity, self-leveling, and pigment density
Japanese gel systems are highly pigmented, self-leveling, and available in controlled viscosities. Some are thin and fluid; others are structured gels that add strength. “Japanese” does not guarantee one consistency, hardness, or cure time. Compared with a conventional gel polish, a Japanese formula may cover in fewer coats or flow more readily.
Why product behavior changes application technique
That behavior changes your technique. Self-leveling gel can smooth brush marks, but a loaded brush may run into the cuticle or sidewalls. High pigment can make a thin coat opaque; a thick coat can trap uncured product underneath. Use a small bead, keep it off skin, and guide it into place before curing.
How to Make Nail Polish Last Longer
Prep for adhesion
To learn how to make nail polish last longer, prioritize adhesion before color: a shade cannot compensate for oil, dust, or product on the skin.
Apply thin coats and cure each layer
- Prep: Remove gel, shape the free edge, and push back adhered cuticle. Do not cut living tissue.
- Clean: Lightly remove shine, then brush away dust. Clean with the system’s cleanser as directed.
- Dehydrate: Apply dehydrator and primer sparingly when the system specifies them; let each flash off.
- Base: Brush on a thin base coat, avoid skin, and cure for the stated time.
- Color: Apply the thinnest even color coats that provide coverage. Cure each layer separately.
- Seal: Finish with a thin top coat, cap the free edge, and complete the cure. Wipe residue only if instructed.
Why Gel Polish Lifts or Chips
Lifting at the cuticle or sidewall
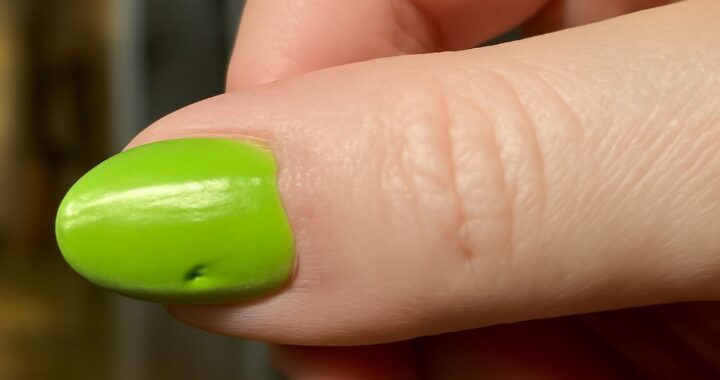
Lifting at the cuticle or sidewall points to contamination, flooding, or incomplete curing. Cuticle fragments, oil, cleanser residue, or gel touching skin create a weak edge. A thick bead can shrink as it cures and pull away. Remove lifted product rather than gluing it down.
Chips at the free edge
Chips at the free edge often come from an uncapped edge, a thin or overfiled tip, impact, or a flexible nail paired with a rigid product. Keep the cap thin, avoid filing after top coat, and follow the manufacturer’s directions for structured products. When the manicure ends, soak or file it off as directed—never peel cured gel from the nail.