You have found the ring, selected the metal, and reached the little box asking for a size. To measure your finger for a ring at home, use a marked sizing tool or a ring that already fits the intended finger; either gives you a better starting point than a guess based on glove size.
For a confident sizing choice, pay attention to the knuckle, the width of the new band, and the scale the seller uses.
How to tell ring size with a marked sizer
A set of calibrated, labeled finger gauges is a practical way to try sizes directly. Choose a gauge marked in US sizes, ideally from the seller you plan to use, and select a band close in width to the ring you want. Its movement matters as much as the number.
Here’s how to measure ring size at home with the gauges. Slide one onto the intended finger and over the knuckle without forcing it. It should sit comfortably at the base and pass back over the joint with a little resistance, while staying secure during ordinary movement. Try the adjacent half sizes if available and compare how they feel when you bend your finger.
Here is how to tell a ring size from the markings: read the number on the gauge that fits, then record the hand and finger along with it. Compare nearby gauges and choose the most comfortable fit. If the gauge catches painfully at the joint or spins freely at the base, try another size rather than squeezing or settling for a loose fit.
Measure your ring size again at home at different times on a day when your hands feel their usual temperature. Cold can make fingers smaller, while heat and swelling can change the fit. If results vary, discuss the numbers recorded at each time of day with the seller.
Use a ring you already wear
A well-fitting ring can help you figure out the size at home, provided it is round and worn on the exact finger and hand intended for the new piece. Measure the size of your ring finger on the intended hand. Choose a band similar in width to the one you are buying, if possible.
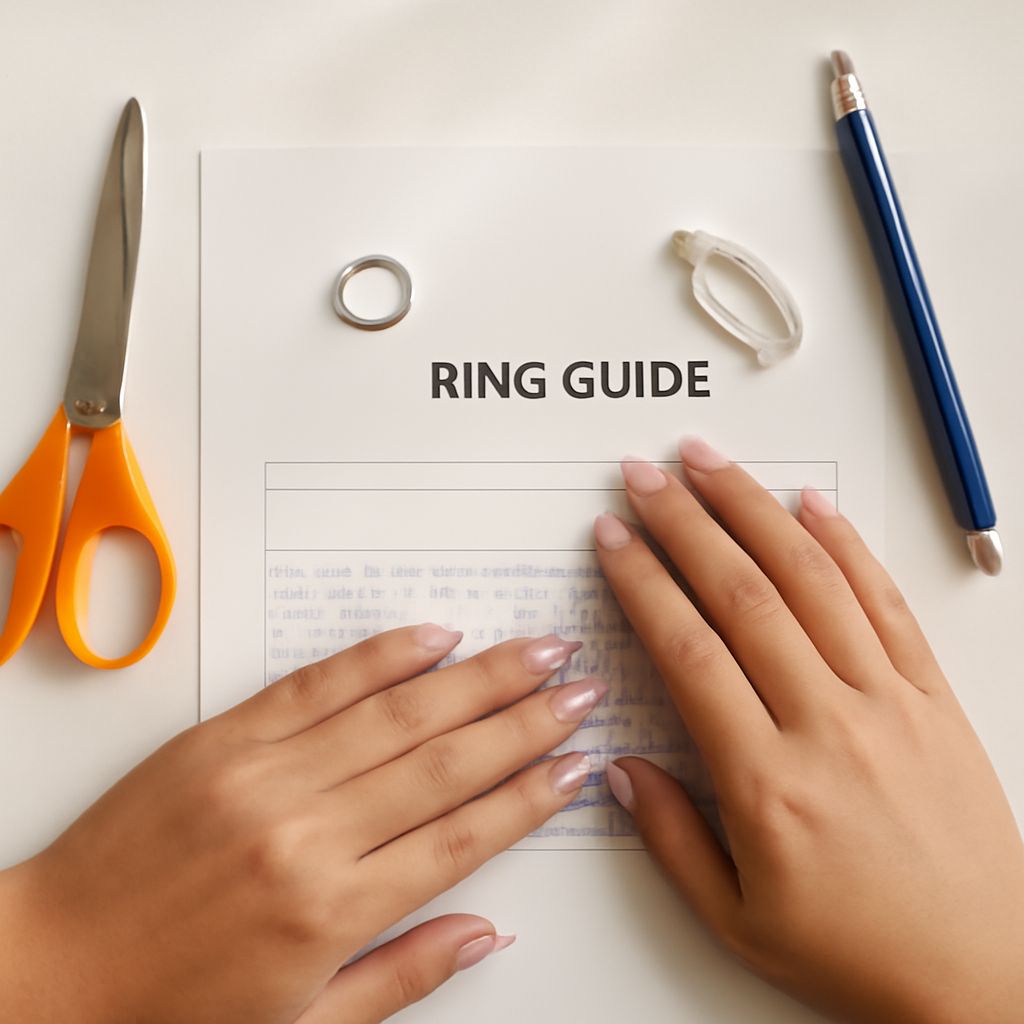
You can learn how to figure out ring size at home by comparing that ring with a printed guide. Download the Cartier ring sizing guide, print it on A4 at 100% or actual size, and turn off “fit to page.” Use its two-centimeter scale check before relying on the circles; a resized page changes the result.
To measure the ring opening at home, place it flat over a circle and compare its inside edge with the printed outline. The inner diameter is the distance across the opening, excluding the metal. Move between neighboring circles until you find the closest match, then use the guide’s conversion table to find the corresponding US size. If the ring falls between two outlines, record both and ask the seller which to choose for that particular design.
A jeweler can also measure the existing ring on a marked mandrel, a tapered measuring stick. This helps with an out-of-round ring. The Gemological Institute of America explains that interior shape and band width affect how a ring is measured. Bring the ring and describe where it is worn.
Account for the knuckle and band
Your ring finger size needs to accommodate two places: the knuckle it must pass and the base where it will sit. The size of your ring finger should clear the joint without force and stay secure below it. If the difference between those points is substantial, a professional can suggest a suitable design or adjustment instead of leaving you with a ring that either sticks or swivels.
Width changes the feel as well. A broad band covers more of the finger and can feel tighter than a narrow one with the same marked size. GIA recommends wider sizing gauges for wide bands. Try a gauge close to the width of your intended ring and ask the seller for guidance on stacked bands, which can occupy more space together than either does alone.
To check the fit of your ring size at home, wear the selected gauge briefly while opening and closing your hand. Notice pressure, turning, and whether it passes the knuckle comfortably. If your finger is unusually cold, hot, or swollen, wait until it feels typical and repeat. Record the number and how it felt.
What about paper or string?
If you have no gauge or suitable ring, a narrow strip of paper can give you a rough circumference: the distance around your finger. Wrap it around the base without pulling tight, mark where the ends meet, and measure the length in millimeters against a ruler. Compare the measurement with a named seller’s US chart, and treat the result as an estimate to confirm with a gauge.
String can stretch, paper can crease, and either can be wrapped too tightly. Neither automatically tells you whether a solid band will clear your knuckle. GIA specifically notes these limitations in its ring sizing advice. Use the estimate to narrow your options, particularly if you are planning a surprise, rather than making it your only evidence for an expensive order.
Here is how to check your ring size at home against that estimate: try the corresponding marked gauge and its neighbors. To learn how to find out your ring size at home from an existing ring, compare the inside edge on a correctly printed chart. To find your size at home, compare the results. Agreement is reassuring; a large disagreement is a reason to ask the seller or a jeweler for help.
Before you order
Measure your ring size once more at home, then use this checklist:
- Measure the intended finger on the intended hand and record the US size scale.
- Check the fit over the knuckle and at the base; repeat when your hands are at a comfortable temperature.
- Match the gauge or existing band as closely as possible to the new band’s width.
- Verify the printed guide’s scale and keep paper or string results as estimates.
For a wide band, a pronounced knuckle, inconsistent results, or a valuable ring, take your notes and any existing ring to a jeweler for a professional fitting. Ask about the specific design and its resizing options before ordering. Then you can choose the number with a clearer idea of how the ring will actually feel.